Motif
Motif is the mark at the top of this page, cast in brass. Two strokes loop into each other and taper to points; here they become round rods that do the same. Each piece is lost-wax cast in yellow brass and polished by hand, and the tips are filed to a point after casting.
Drawer pull
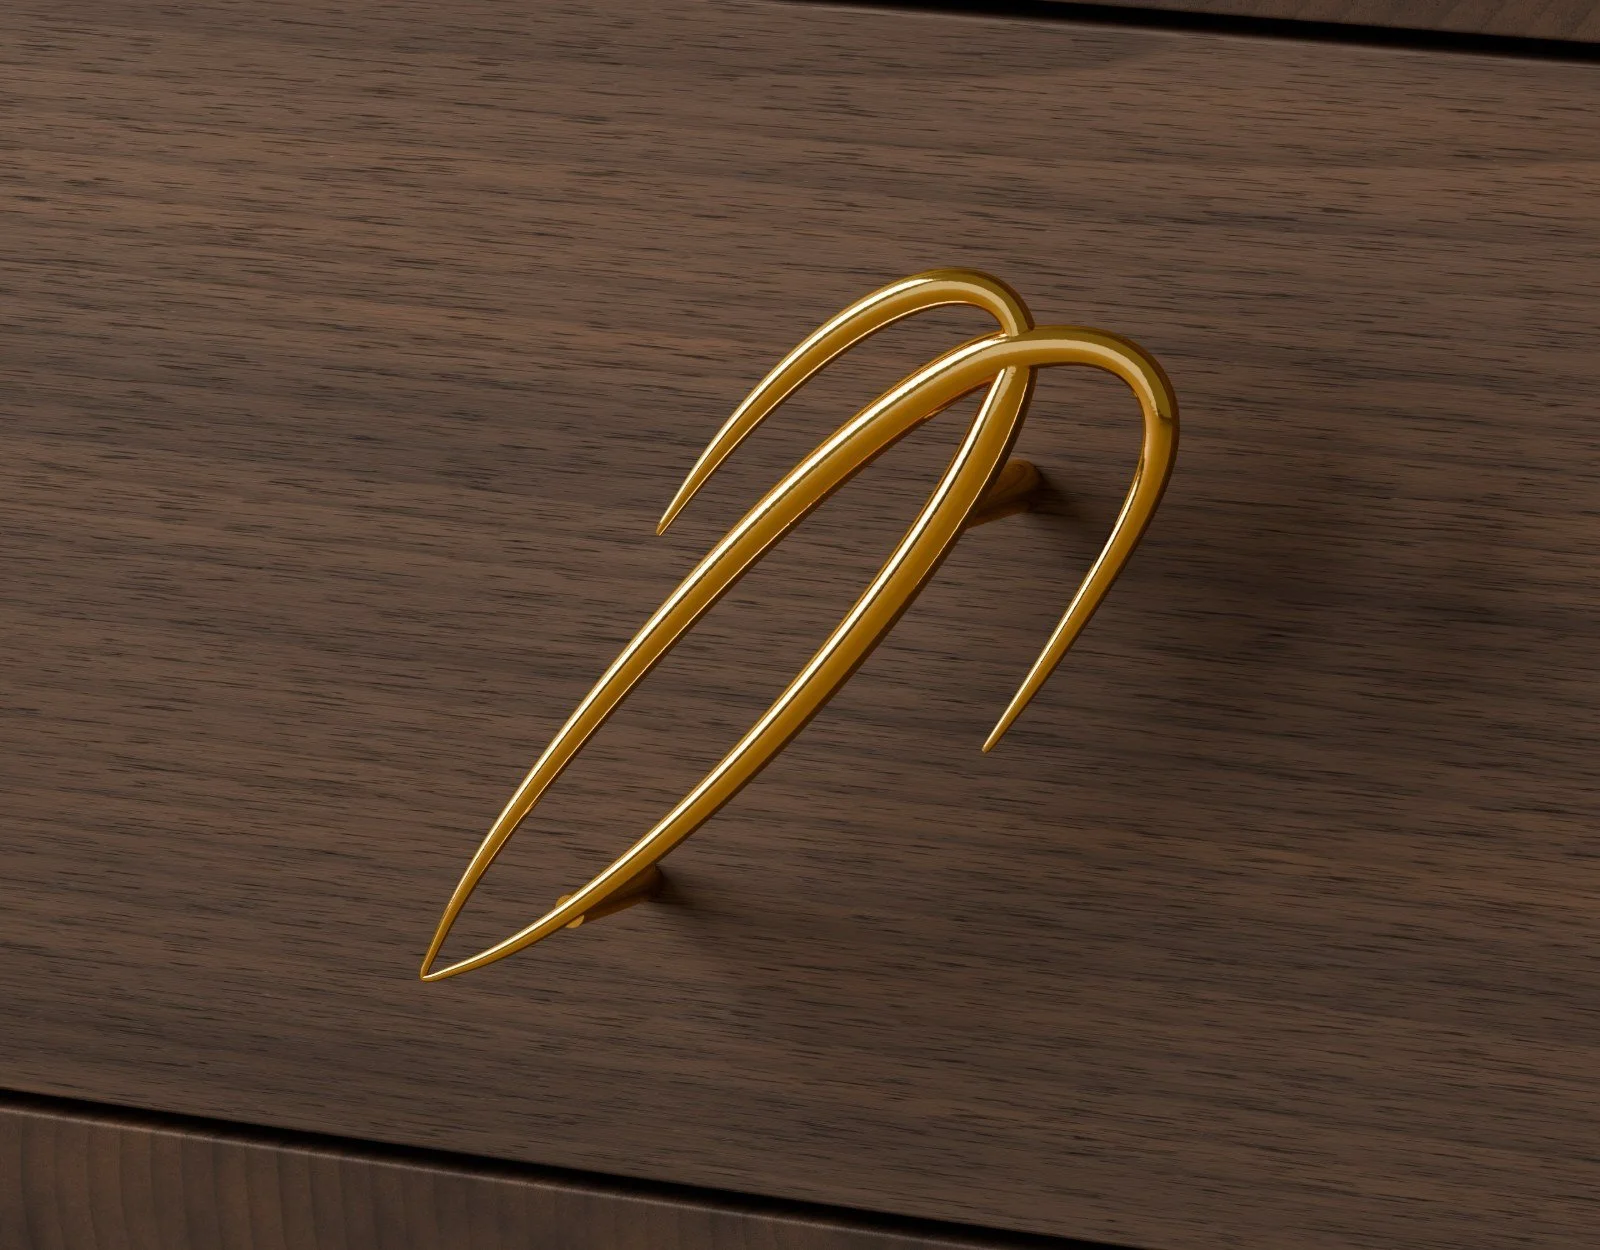
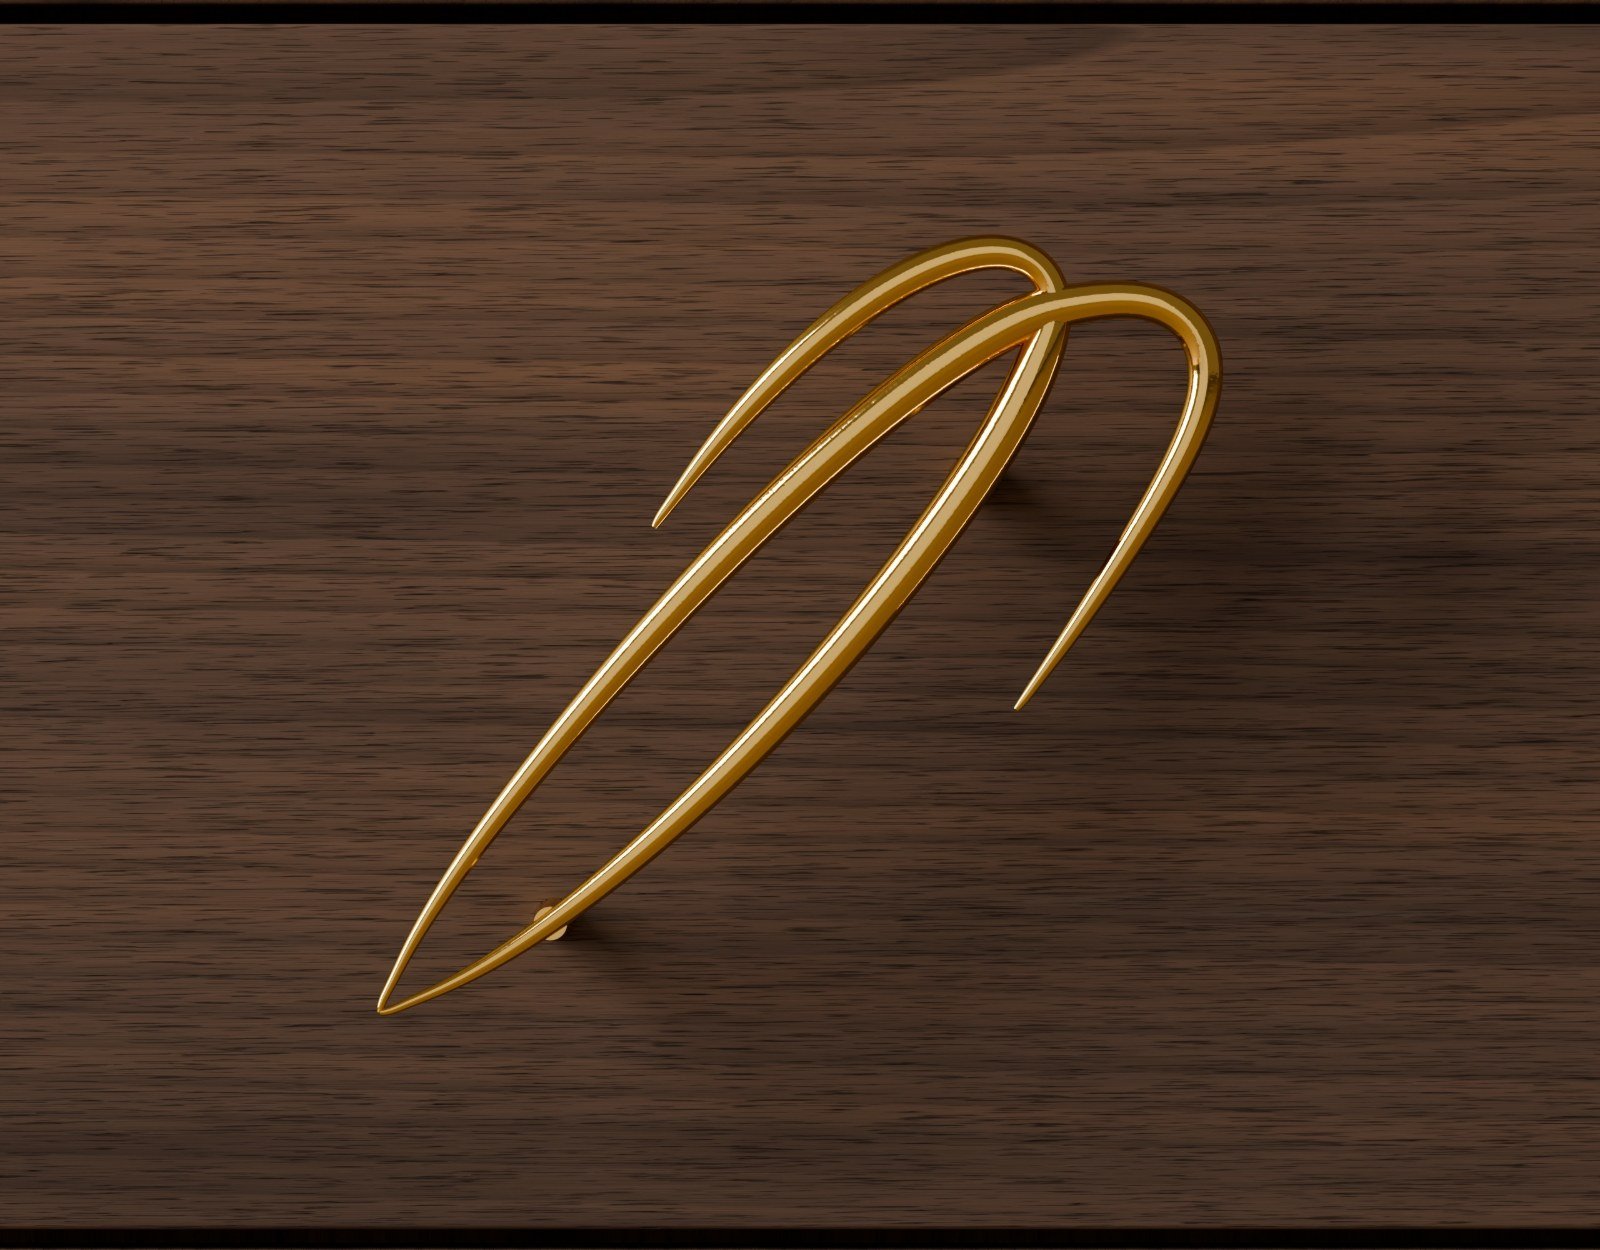
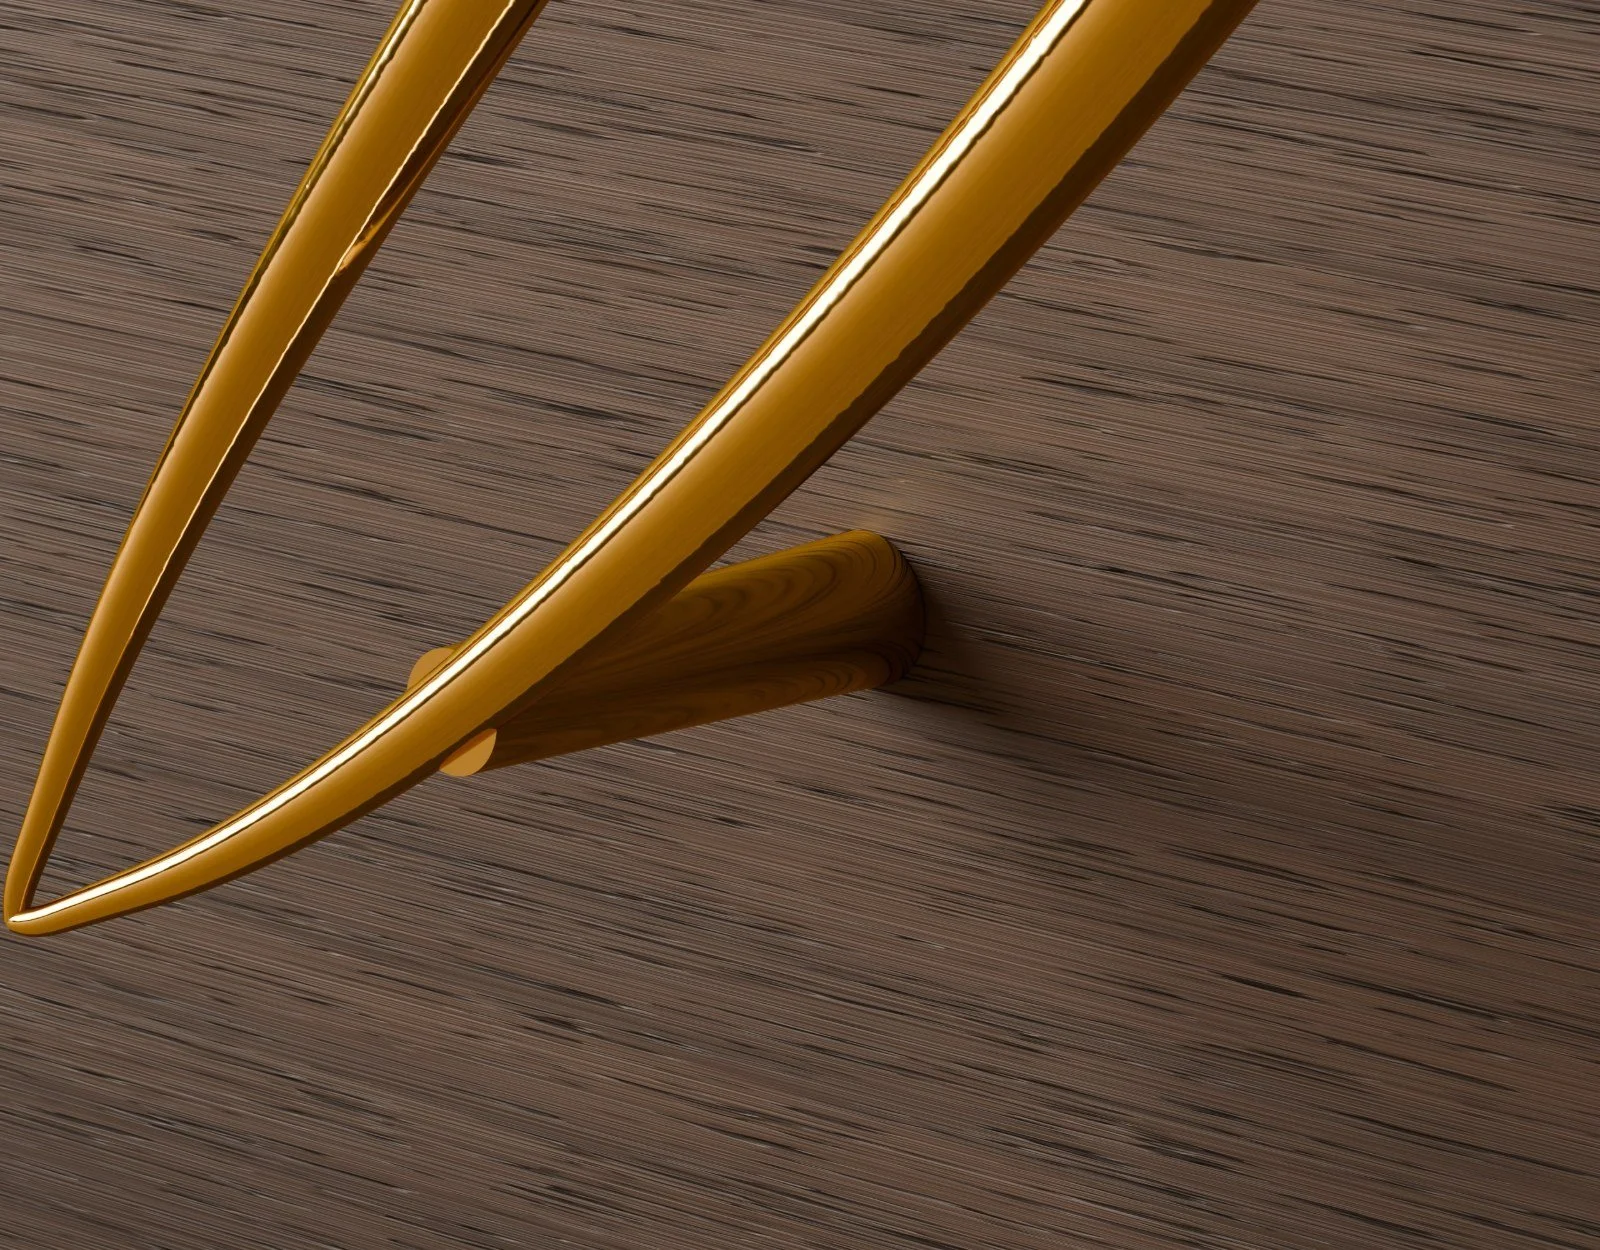
The whole mark as a drawer pull. It stands 28 mm off the face on two posts along the diagonal of the mark. Each post is tapped, and a brass machine screw goes into it from inside the drawer, so nothing shows on the face but the mark. 132 x 121 mm, about 105 g.
Door pulls
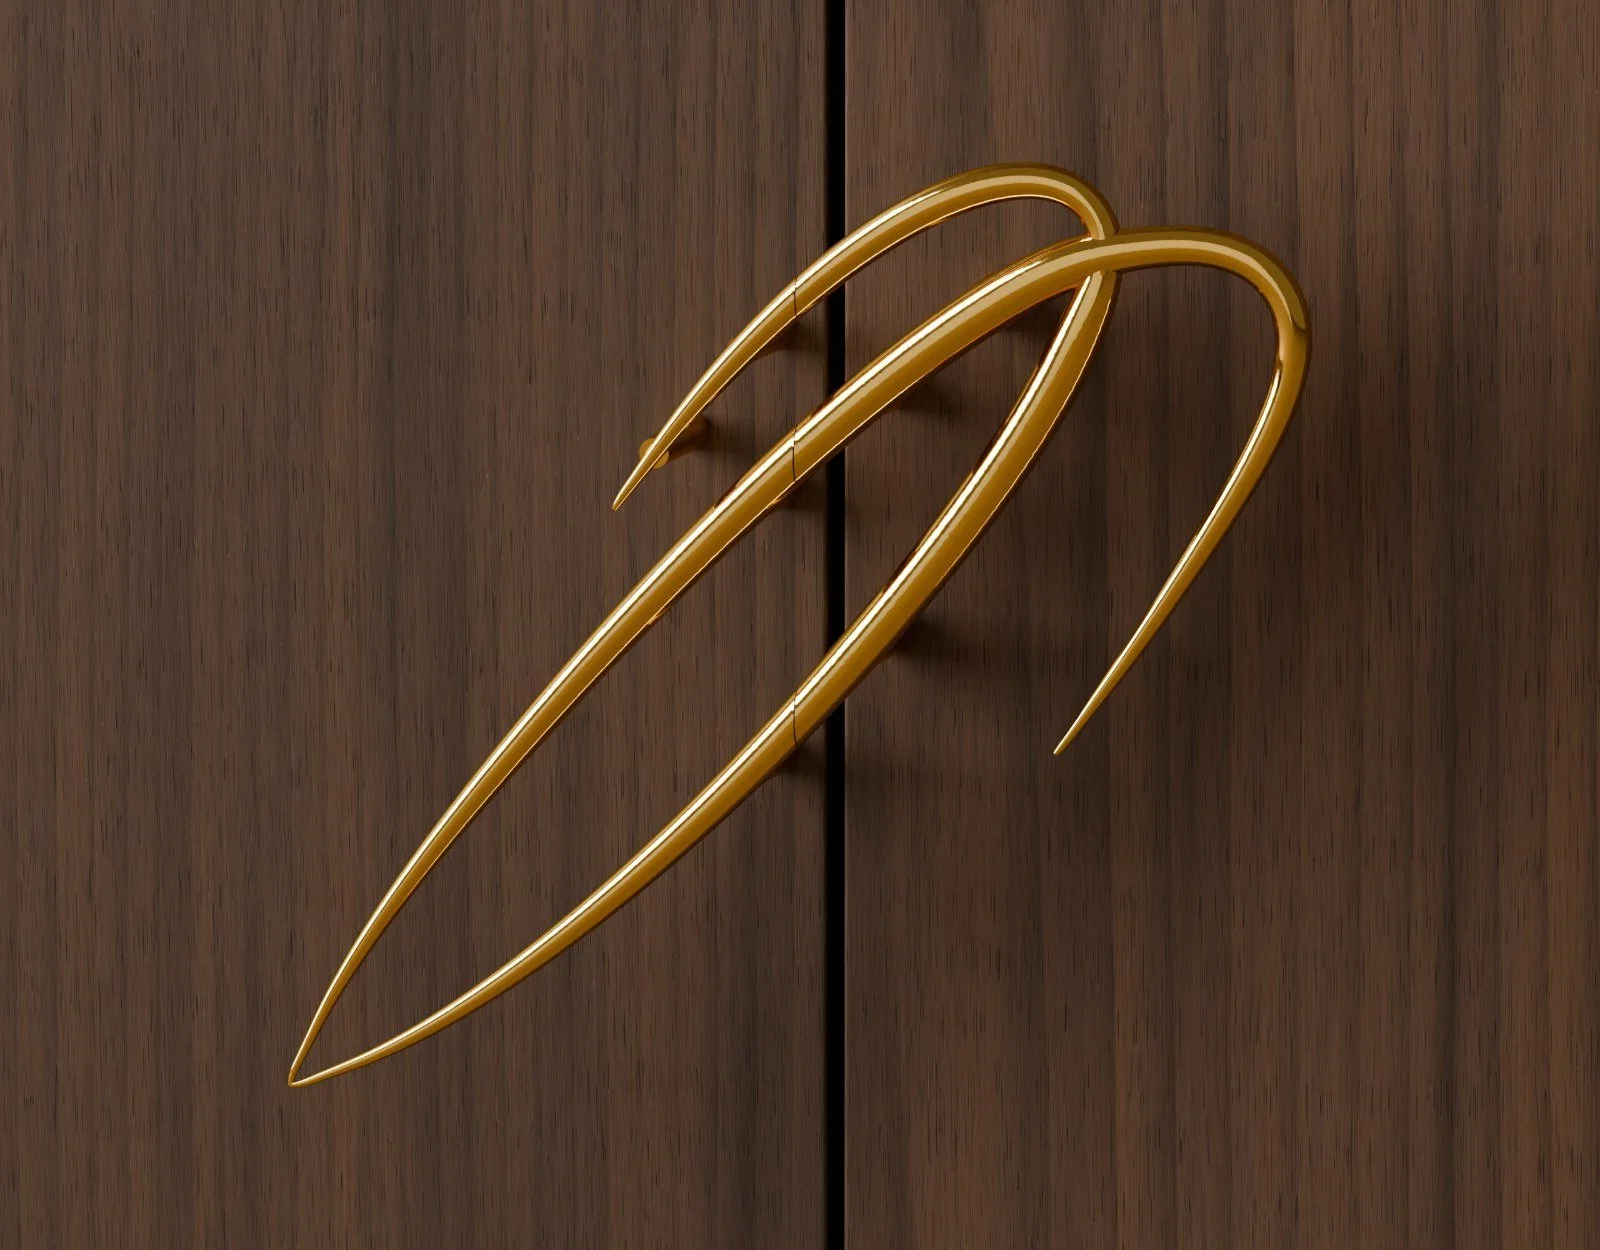
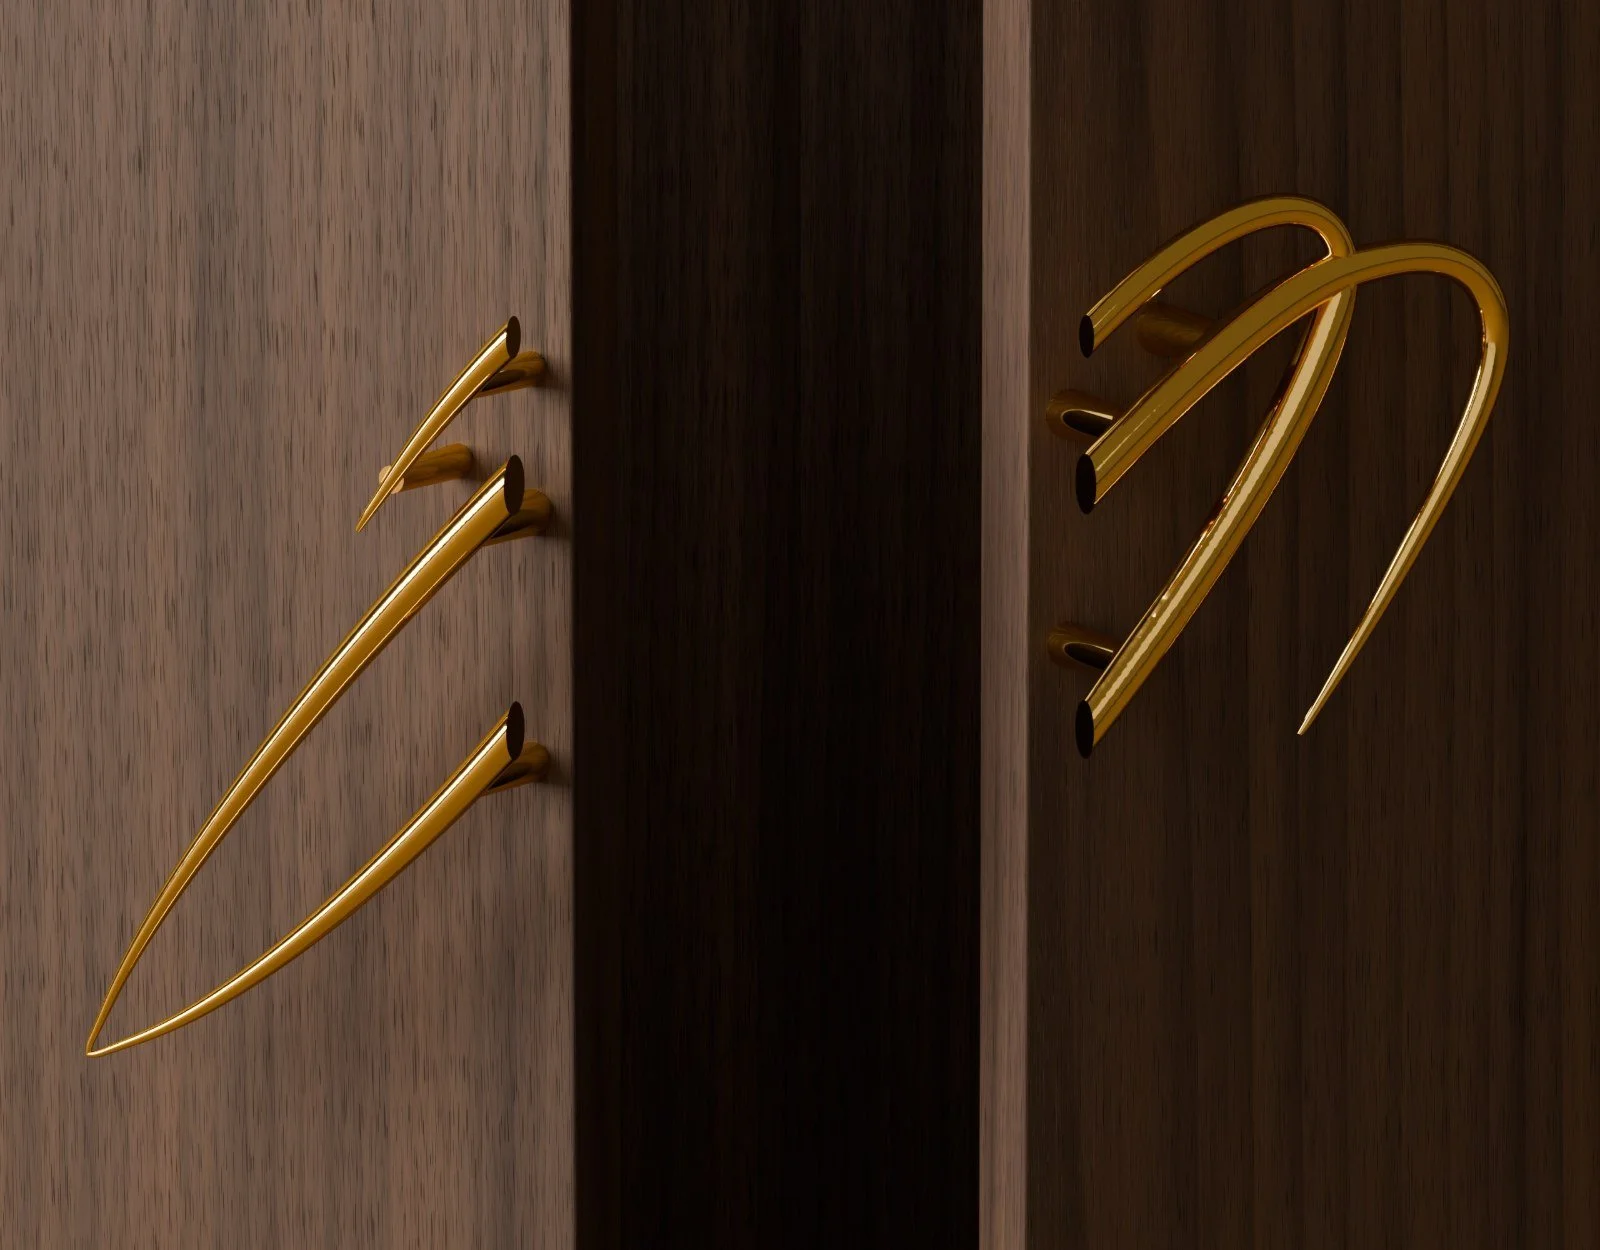
On a pair of doors the mark is cut where the doors meet. Closed, the two halves read as one mark. Open, each door carries its half. The cut faces are flat, and each half reaches just past the edge of its door, so across a 3 mm gap between the doors the mark closes to a hairline. Seven brass screws hold the pair from inside the doors, four in the left door and three in the right, one into each post. 183 x 166 mm closed, 31 mm off the doors.
Coat hook
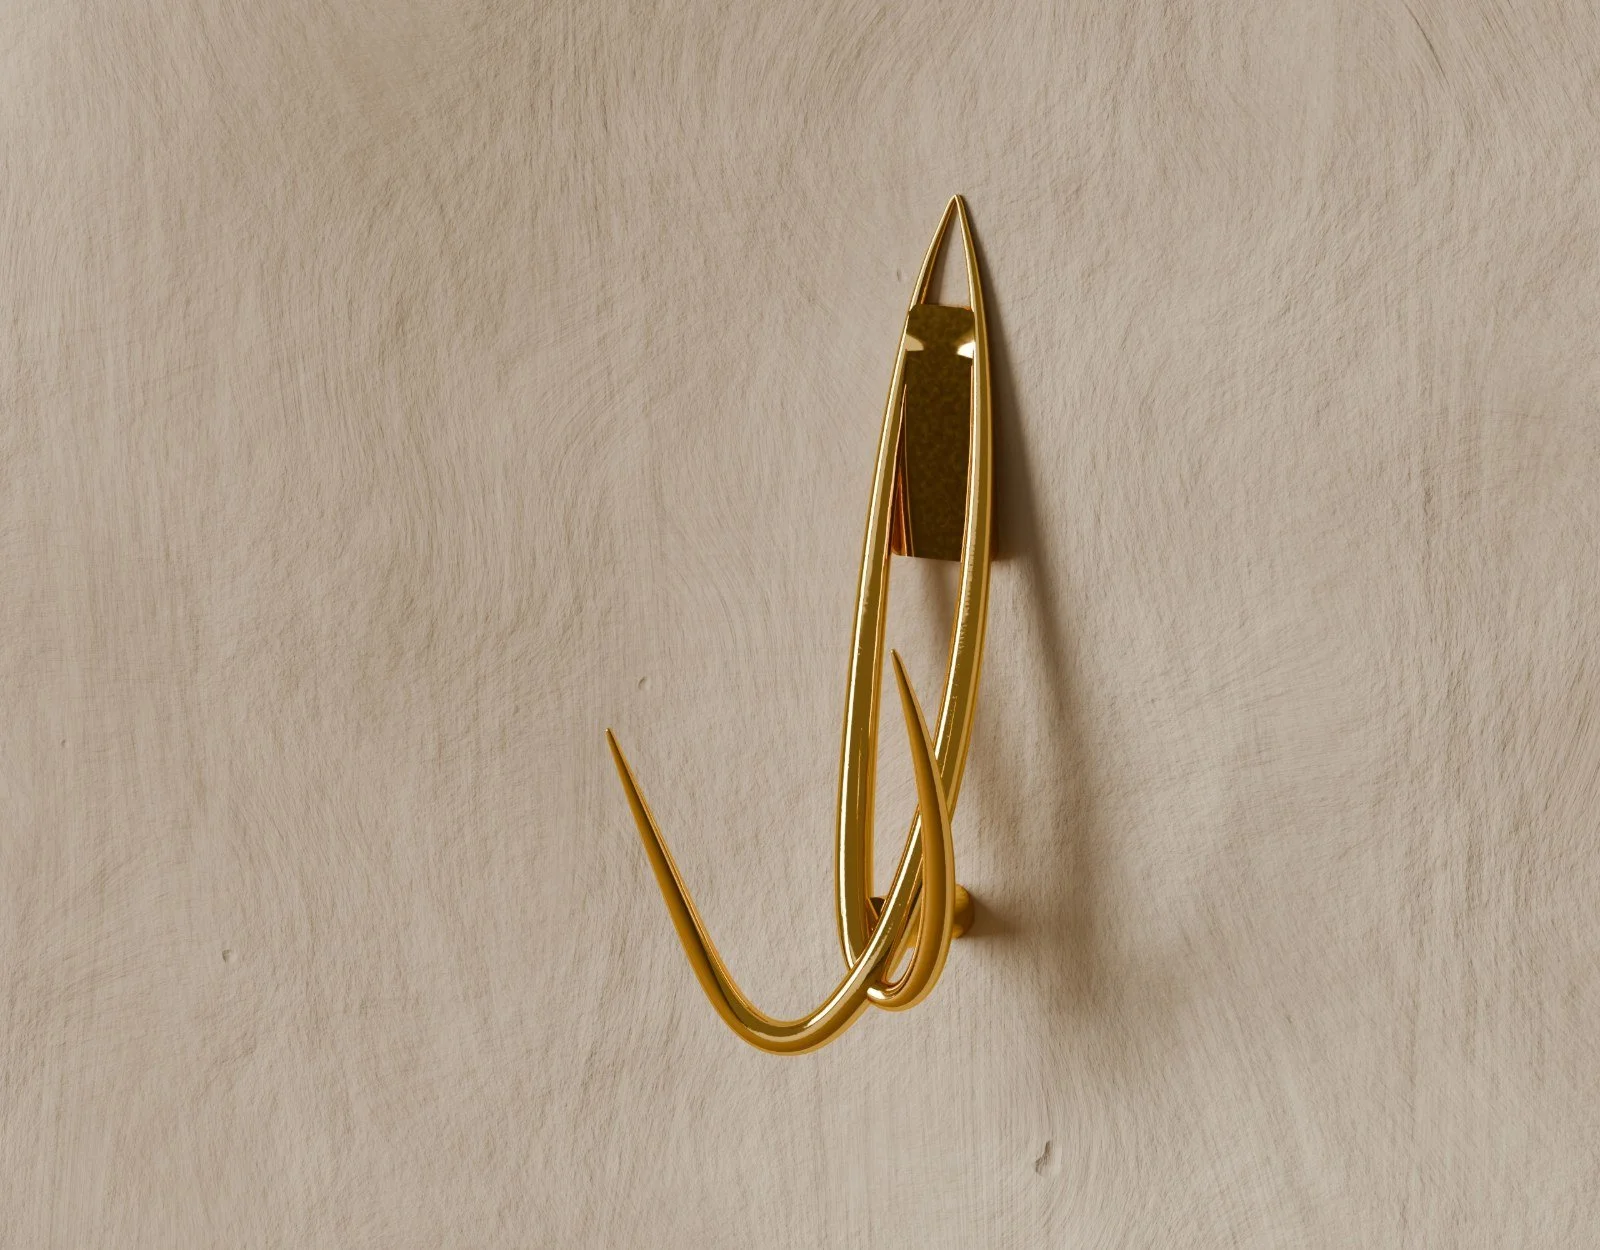
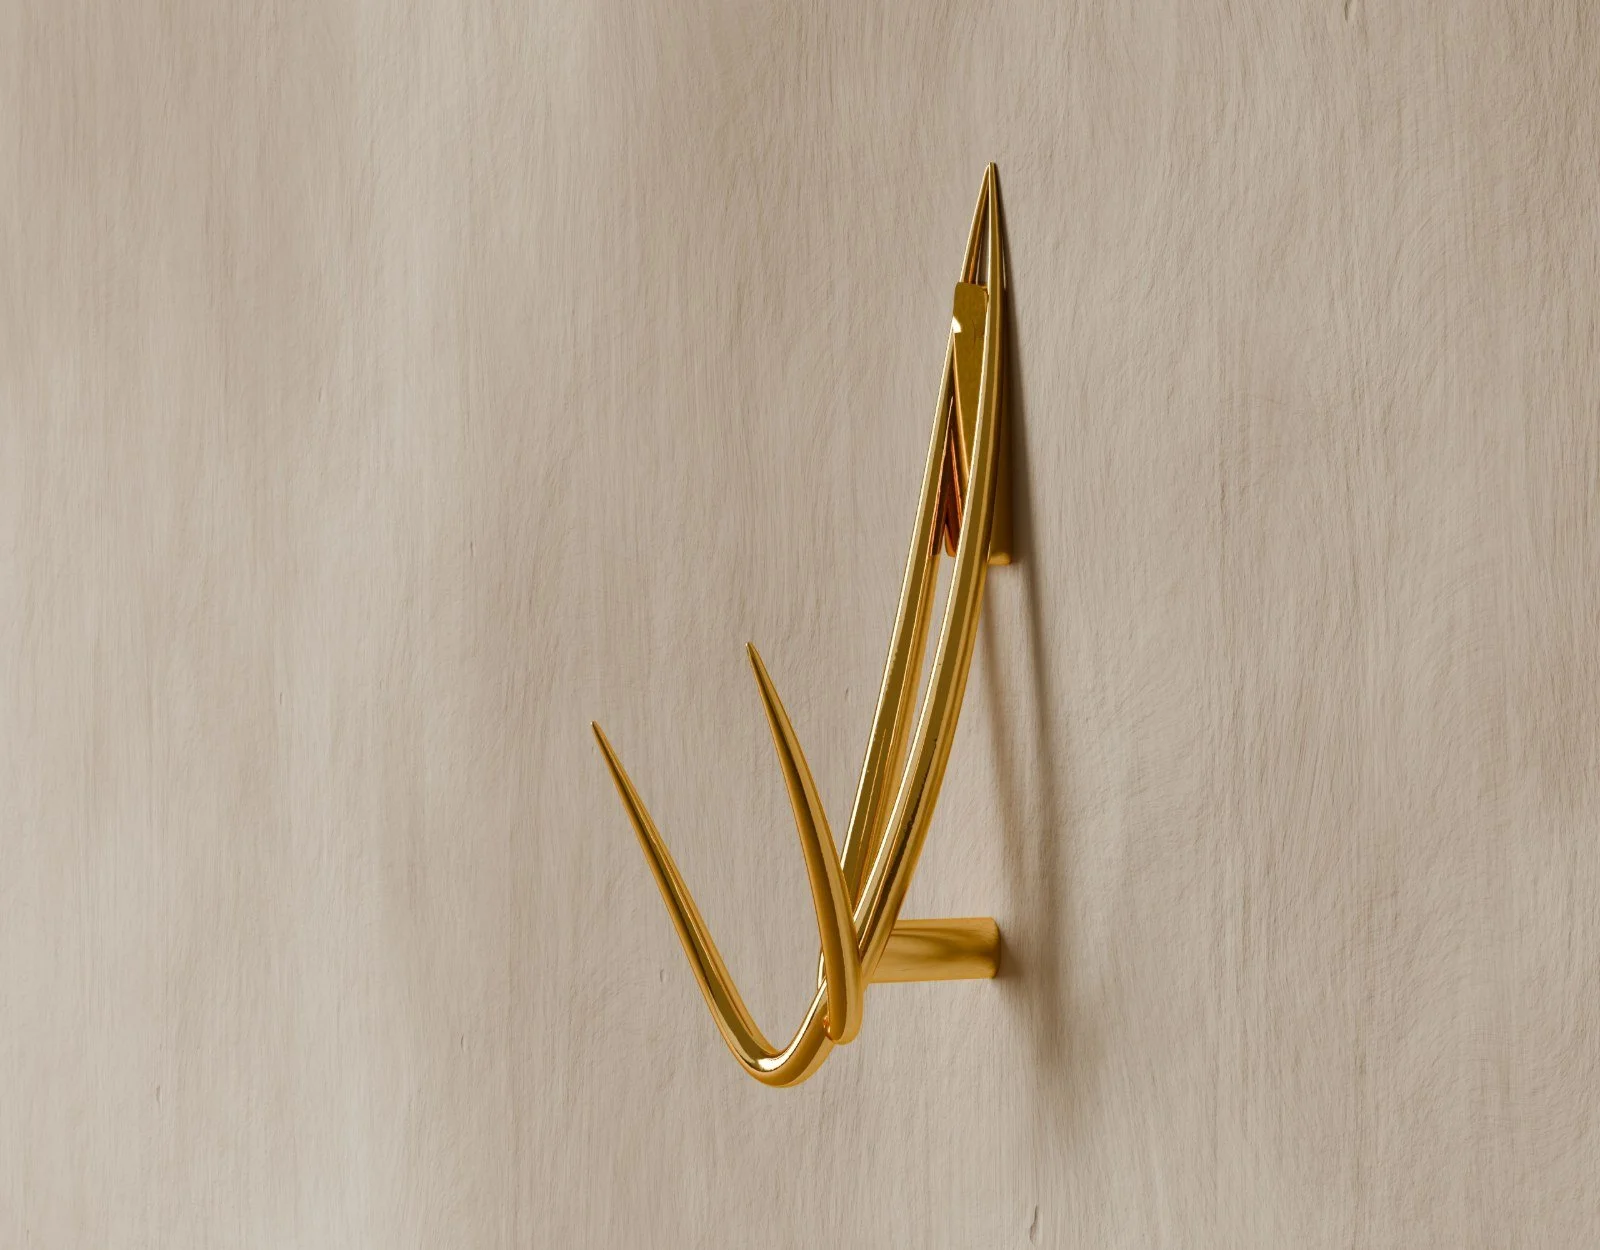
The mark stood upright. Its long loop frames a plate, and the two tails curl forward into hooks. The plate hangs on a small brass cleat screwed to the wall behind it, and a tiny set screw under the plate locks it down, so no screws show. A standoff at the bottom keeps it square to the wall. The cleat goes into solid wood: a stud, a panelled wall or a hook rail. The hook tips stay lightly rounded so they won't catch a coat. 71 x 181 x 68 mm, about 195 g.
Installation
Nothing goes in from the front. Tape the 1:1 template to the face and drill a 3/16 in hole straight through at each cross, with scrap wood clamped behind. Then, from inside the drawer or the door, an 8-32 brass machine screw with a washer goes through each hole into its tapped post. Snug, not tight: the thread is in brass. The coat hook hangs on a brass cleat screwed to a stud and is locked with a set screw from below.
Installation sheet and drilling templates (PDF). Print at 100%. Drawer pull: 2 screws. Door pull pair: 7. Coat hook: the cleat, 2 wood screws and a set screw.
Design process
01The mark. Motif starts from the logo: two strokes that loop into each other and taper to points. In October 2026 the crossing at the top was redrawn so the strokes meet at one intersection instead of two tapered ends, which also took out a small corner that showed at small sizes. This page, the site header and the browser icon all use the redrawn mark.
02Rods, not outlines. Each stroke becomes a round brass rod that tapers to a point, so the hardware reads as the mark drawn in the air rather than cut from a sheet.
03For casting. Each piece is modelled as solid rods with tips at 1.0 mm, the smallest that casts cleanly, and finished to a point by hand. The patterns are scaled for shrinkage so the 96 mm hole spacing comes out true. The posts are cast with 3.3 mm holes and tapped M4 afterwards. The coat hook's countersinks are left crisp for #4 flat-head screws.
04CAD. The drawer pull, the door pair and the coat hook are each an Onshape document built from the casting files, with the door pair also set up as an assembly in its closed position.
05On walnut. The door pair was tried on two walnut doors. The cut sits on the centre line, and each half overhangs its door by 1.4 mm, so a normal 3 mm door gap still closes the mark to a 0.2 mm hairline. The halves only ever swing away from each other, so the doors can't catch on them.
06In the round. The coat hook reads best in motion, so it is shown turning half a turn, passing quickly through the side views and slowing at each three-quarter view, where both hooks and the standoff can be seen at once.
07Screws you can reach. The first version hung each piece on tapped M4 posts, which meant bolts through the door or drawer from behind. Now every post ends in a small cast foot with an 82 degree countersink beside it, and one #4 brass wood screw goes through each foot from the front. The countersinks sit clear of the rods so a screwdriver reaches them straight on, and nothing is threaded into the brass. The coat hook's M4 hole became a third foot.
08Templates. A printable sheet with the steps and a 1:1 drilling template for each piece, with scale bars to check the print and each screw numbered.
09In the room. The hardware was rendered in Blender, in the room from my walnut case film: the limewashed wall, the oiled walnut and the light. The first renders showed the screws on the face, because a pull held on by nothing is not the real thing.
10Fitted, on film. Fitting the drawer pull, from the template to the last screw.
11Fixings out of sight. On the face the screw heads were noisy and pulled the eye away from the mark, so they moved inside. The feet are gone. Each post is drilled and tapped 8-32 instead, and a brass machine screw with a washer goes into it through the drawer front or door from behind. The coat hook now hangs on a small brass cleat behind its plate, bevelled at the top so the plate hooks over it, and a #2-56 set screw under the plate pulls it down onto the bevel and tight to the wall. Its old screw holes are filled. The templates now mark 3/16 in through holes, every render was redone with nothing on the face, and the fitting film now drives the screws from inside the drawer with the Flutter screwdriver. The coat hook turn no longer stops at the three-quarter views. It slows down there instead.
12Next. Cast one drawer pull as a sample, tap its posts and fit it with the template, then the door pair, and the coat hook with its cleat.